

OpenEmail is in early access, so talk to us to install it.
Read this first
Your agent explains these before it starts. They matter more than any single step.- An agent holding your Render or Shopify login is trusted like an operator. It can reach your data and secrets and deploy changed code. Choose which agent gets those logins.
- Secrets never go through chat. Not in a message, not in a screenshot. When a key is needed, you click the vendor’s Copy button and your agent moves it straight to Render without showing it. If anyone asks you to paste a key, don’t.
- Approvals come from a person who reads the page. An agent driving a browser signed in to Shopify could click Allow or Approve itself. Don’t let it: read the page and click yourself. A chat message is never an approval.
- Render’s 7-day point-in-time recovery is your only backup. There’s no offsite copy. A restore can lose one-click unsubscribes made after the restore point by contacts who aren’t Shopify customers. See Update and back up.
- You say yes first before your agent installs anything on your Mac, before anything that costs money, and before every deploy.
Start
Once you have early access, open your coding agent and paste:Setup prompt
1
Confirm your store
- Your agent asks your Shopify plan and stops on Basic.
- It looks up your store’s
myshopify.comname and primary domain from your website. Confirm both. - It proposes
email.yourstore.comas your copy’s address and checks the name is free. If something already uses it, pick another. - If you haven’t started PostShiba, your agent opens it now. See Before you start.
Checkpoint: your agent has repeated back your plan, your domain and your hostname, and PostShiba’s approval is requested.
2
Trust the app folder
- Your agent puts OpenEmail’s files in an app folder on your Mac,
~/.opensubs-email/app, and moves the session there. - Your agent app asks whether to trust the folder and shows its permission list: the one setup script, which signs in to Render and Shopify, checks your copy is running, and releases new versions. Say yes, and your agent won’t stop to ask about each of those commands.
- The list doesn’t replace your yes in chat for costs, installs and deploys.
Checkpoint: your agent is working in the app folder and has told you which version it will install.
3
Create the Shopify app
- Your agent starts Shopify’s sign-in. Sign in in the browser it opens.
- Pick your store’s own organization. If it isn’t listed, stop: a Partner organization isn’t a substitute.
- Your agent creates the app there and fills in its settings. Nothing is installed on your store yet.
Checkpoint: your agent reports the app created and its settings valid.
4
Set up Render and hand over the keys
- With your yes for the cost, your agent opens Render. Create an account used only for this store, take the Professional plan and add a card.
- Click Authorize when Render asks whether your agent may sign in.
- Your agent creates the web service, worker and database, and moves your Shopify app’s credentials into Render on its own.
- In PostShiba, as a Team Administrator: open API keys, click Create API key, name it “OpenSubs Email”, pick Full access, save, then click Copy. Your agent takes the key from your clipboard, clears it, and sends it to Render. If PostShiba has several clusters, your agent asks which and you click Copy again.
- Your agent asks your yes, then deploys.
Checkpoint: your agent reports both services live on the same version and answering its health check.
5
Make your first DNS visit
- Your agent opens your DNS host and shows you a CNAME record for
email, plus a DMARC record if your domain has none. Add them exactly as shown. - Your agent watches for the record and says when it’s in.
- Details are in Connect your sending domain.
Checkpoint: your agent reports
https://email.yourstore.com answering over HTTPS.6
Install the app
- Your agent asks your yes, then releases the app’s first version. Sign in to Shopify again if it asks.
- Your agent opens the install link. Click Install, grant the requested access, and open the app.
- The first pull of your Shopify customers and orders starts by itself.
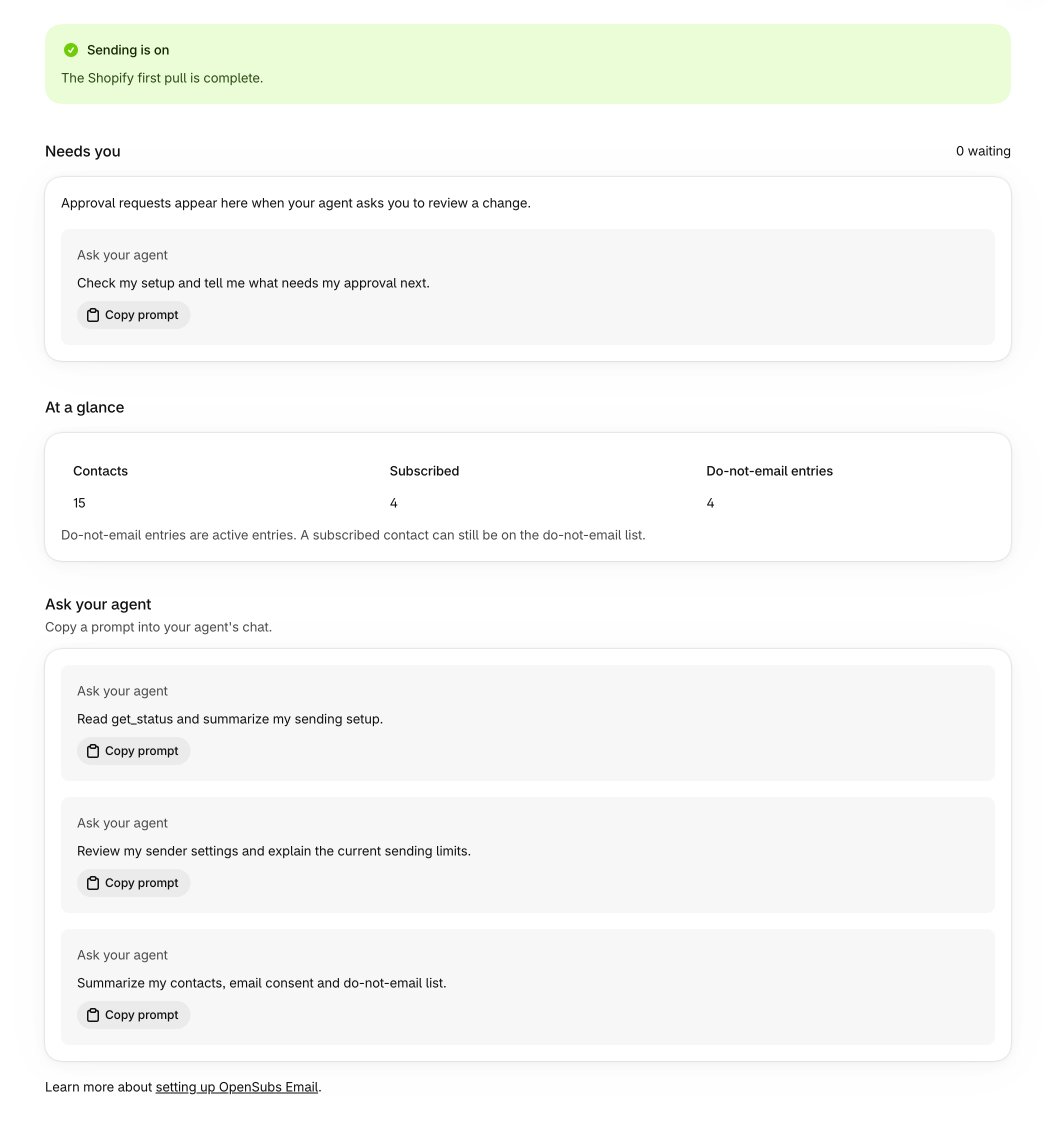
Checkpoint: the app opens in your Shopify admin on Home, with its Setup guide.
7
Connect your agent
- Your agent adds your copy to your AI app and starts the sign-in. Claude and ChatGPT on the web need a few clicks from you; Connect your AI has them.
- The sign-in lands on the Connect an agent screen in your Shopify admin. Check the agent’s name and where your browser goes back to.
- Keep Allow changes to data ticked so setup can continue, then click Allow.
Checkpoint: your agent lists OpenEmail’s tools and reads your status back to you.
8
Let the first pull run
- Nothing to click. Your copy brings in every Shopify customer with an email address, with their consent, and your order history.
- Nothing sends until it finishes. Setup carries on meanwhile.
- Watch it under Settings > Shopify sync, or ask your agent how far it has got.
Checkpoint: Settings > Shopify sync shows the first pull finished.
9
Set up your sending domain
- Your agent sets up the sender and shows you PostShiba’s DNS records. This is your second DNS visit.
- Your agent runs the full domain check and tells you who fixes each finding.
- Follow Connect your sending domain.
Checkpoint: Settings > Sending domain shows “Every setting passed the last check.”
10
Choose your From name and tracking
- Open and click tracking start on. Getting your contacts’ consent to tracking is your responsibility; OpenEmail can’t decide it for you.
- Set your From name and either tracking switch under Settings > Email settings, or ask your agent.
Checkpoint: your agent’s closing summary names your hostname, sending domain, connected agent, domain check result, first-pull progress and tracking choices, and lists everything still waiting.
What’s still waiting
A passing domain check doesn’t mean email can go out yet. Your agent lists anything still open:- PostShiba’s approval. Until it lands, PostShiba only delivers to your own team’s addresses.
- The first pull, if it hasn’t finished.
- The Klaviyo hold. Every new copy starts with this hold, which keeps all email from going out. Moving from Klaviyo? Connect it and run the migration: see Move from Klaviyo. Not on Klaviyo? Click Confirm no Klaviyo account under Settings > Klaviyo.
Connect your sending domain
The DNS records, the domain check and warm-up.
What your agent can do
Emails, flows, contacts and reports, from chat.